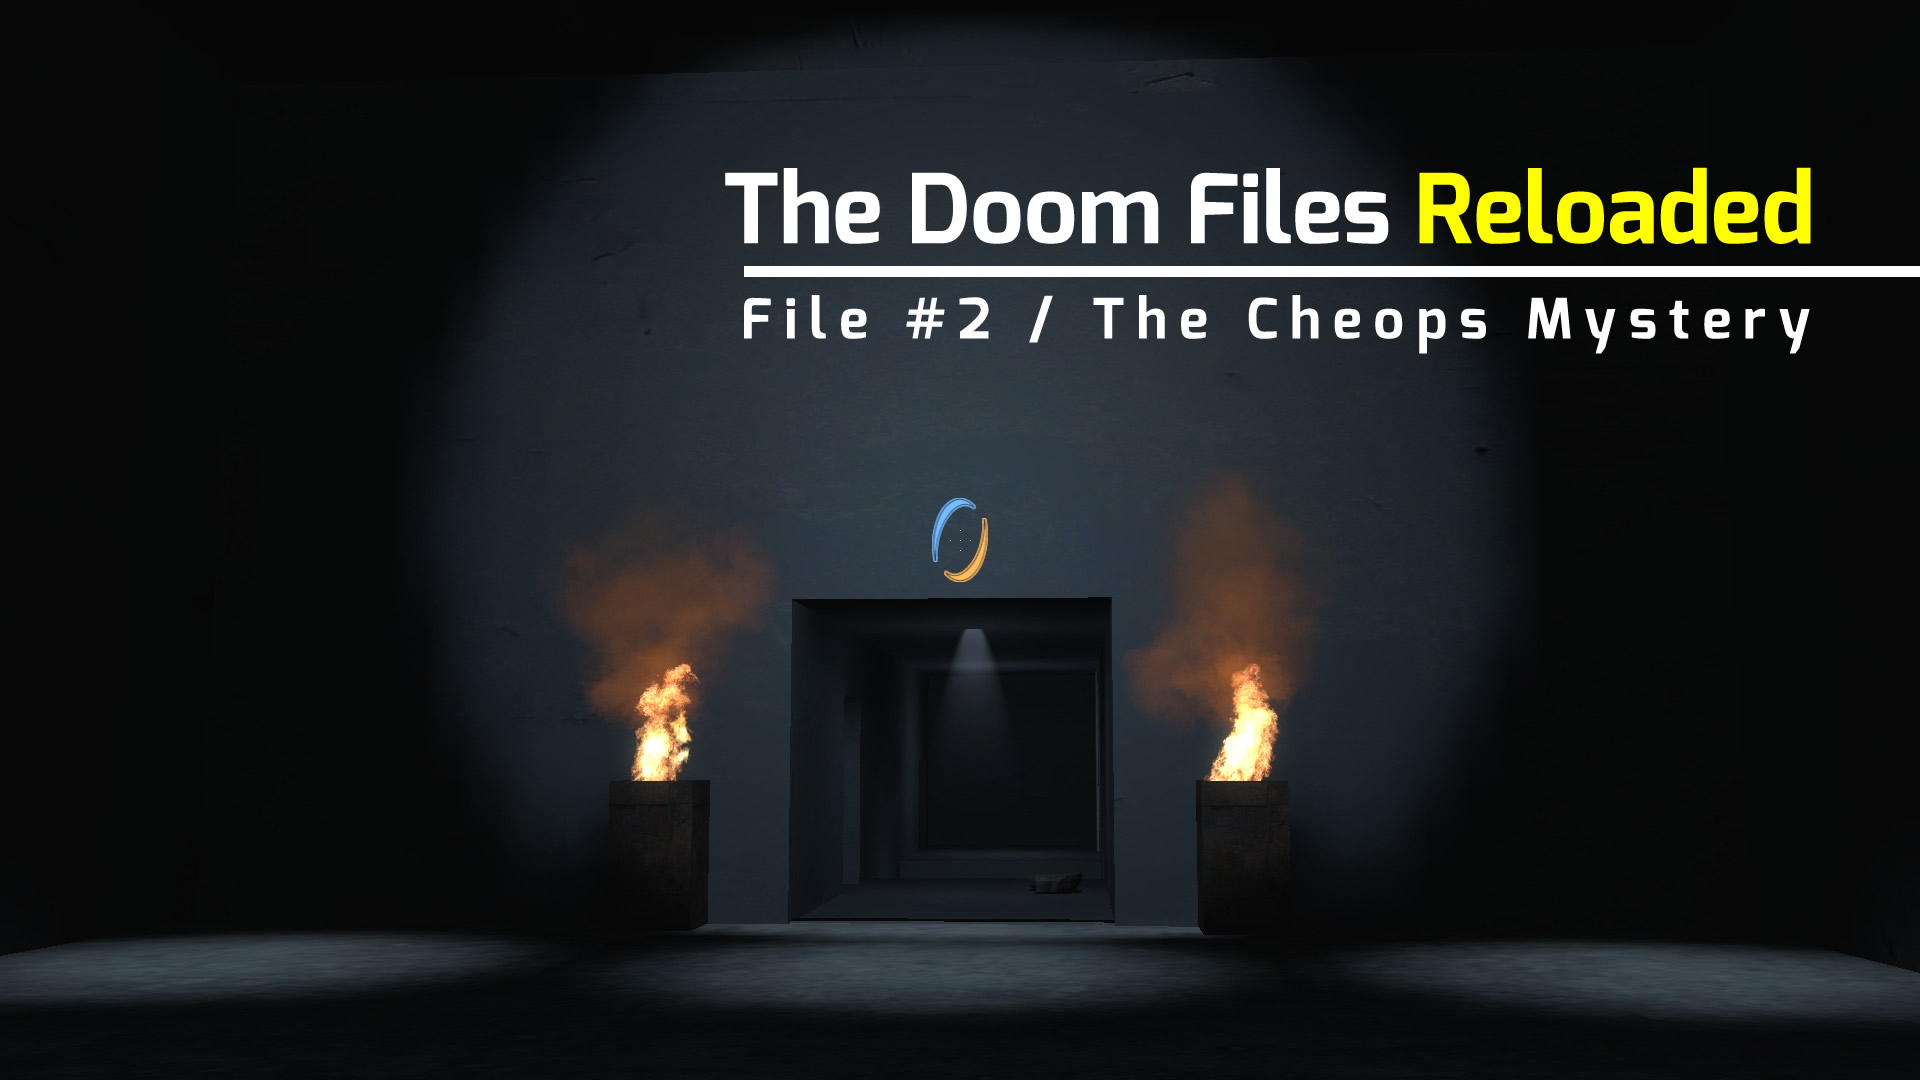
| The portal conventions
within this walkthrough are: Blue portal = Enter | Red portal = Exit This helps simplifying the description. Of course you are free to shoot your portals the way you like it best. |
01 / The pool
Climb the steps until you reach a door. Push the button on the right and enter the pool room. In the middle of the toxic pool you spot a pedestral, and on it something bright and shining. Have a closer look (zoom) - it is the portal gun you will need to proceed through the map.
On your left, discover a passage to a small room. Enter it, turn right and step on the elevator which takes you up to the obervation area. Push the floor button in order to activate the energy bridge.
Leave the small room, turn left, walk up to the staircase's landing and climb the stairs. Step on the energy bride and cross the room until you reach the broken landing's end. Turn around and push the floor button, activating the tractor beam. It will pushl the portal gun from its stand. Jump right into the beam and let yourself be carried up to the wall. Here, at the latest, grab the gun.
Leave the beam to the right. Walk to the paint dropper. Shoot a blue portal at the floor beneath the dropper. Walk to the opposite side of the room. Position yourself in the middle of the broken landing's gap (don't fall into the pool!). Shoot a red portal at the ceiling exactly in the middle of the landing's gap. This will make the reflection gel drop to the floor, exactly in the middle of the gap.
Climb the stairs again, jump down at the gel spot and let youself be catapulted to the other end of the broken landing near the room's corner. Push the floor button, which opens the control box in the observation area, containing the second button. Jump down from the landing (don't fall into the pool!) turn right and enter the small room again. Take the elevator to observation level and push the second button. This will open the room's exit door. One look at the open door shows the problem with it: It is guarded by a turret, indicated by its laser beam.
Don't loose your heart now - after all, it's just a turret. Approach the exit door from the left side of the room. Without getting into the visual range of the turret, shoot a blue portal at the rightmost position in the right wall of the passage. Now walk to the middle of the passage. Have a short look through the passage before the turret starts doing what turrets usually do. You will discover rotatable glass barriers behind the turret, blocking the back wall. These have to be lowered in order to shoot the exit portal at the wall. On the right wall of the passage, right at the end, you spot a red button.
Move farther to the right, just far enough to leave the turret's visual range, but near enough to see the far end of the passage's left wall. Shoot a red portal at the rightmost position of the left wall, directly opposite the wall button. Now move to the left side of the passage again, close to the room's wall. You have reached the right position if you can see the red wall button through the blue portal.
Now, take your Adrenaline pills and brace yourself for some fast action. Wait for the turret's sleep mode, walk throuh the blue portal, push the red wall button, turn back at once, walk through the red portal and flee from the turret's visual range, turning right.
If you actually survived this, pushing the button has lowered the glass barriers. Wait for the turret's sleeping mode again, then walk to the middle of the passage, shoot a red portal at the back wall behind the turret and instantly move to the left side again. Now walk through the blue portal, arriving on the platform behind the turret. You can satisfy your thist for revenge now and give the turret a good kick, or turn left or right and walk directly to the next room.
02 / The gate to the stars
There is not much to do for you in the Gate Room, except maybe admire the large reliefs on the walls. When you have seen enough, simply walk through the gate, which will shoot you right into space and through a wormhole. Enjoy the trip and have a good look at the planet your trip is headed to: It is Earth. Now you understand: The Aperture premises you came from must be situated on another planet. You find yourself under a star-spangled night sky. Turn left and rejoice.
03 / The pyramid
The trip through the wormhole did not just take you to another planet - it seems as if it also moved you back in time a few thousand years. The pyramid in front of you is not a ruin, it is shiny wite, as if it had been finished just yesterday. Walk along the Promenade of the Kings and approach the pyramid. You see four torch pedestrals at the foot of the pyramid, but the torches do not burn.
Step on the platform in front of a pedestral to ignite the torch. After leaving the pedestral, the torch will go out again. After trying all four tourches, you have learned that the extinguishing timeout is different from torch to torch. Now, what is this all about?
Obviously, you want to enter the pyramid to proceed. The four torches are the key to opening the pyramid. If you manage to keep all four tourches burning at the same time, this will open the hidden door in the middle.
This is the strategy: Ignite the torch with the longest extinguishing timeout first, then the tourch with the second longest timeout, and so on. You have to move fast between the tourches in order to arrive early enough at the last torch, as long as the first torch is still burning. If you number the torches from 1 ro 4 (left to right), this is the order:
4 - 1 - 2 - 3
After you have successfully ignited al four torches, the large gate into the pyramid will slowly open. Step inside before it closes again, enjoy the paintings and proceed along the hallway.
04 / The chamber tombs
Follow the slightly inclined hallway down to the pyramid's underworld. Before entering the large room, shoot a blue portal at the right wall, directly at the end of the hallway. There are two small chambers, leading off the room at two opposite walls, both blocked by stone grates. Approach the chamber leading off the right wall. Shoot a red portal at the back wall. Go back to the blue portal and enter the chamber. In front of you there is a small switch at the stone grate. Press it to rotate the back wall in the opposite chamber (zoom). Shoot a blue portal at the back wall of the opposite chamber. The two chambers are now directly connected through the portal.
Turn around and act fast: Press the floor button on your left, step through the portal and press the second floor button on your left. If you did this fast enough, the stone grates will open. Step out of the chamber into the large room before the grates close again. After a few seconds, the room's east wall will light up, the door torches ignite and the door opens.
Walk through the door, right into the catacombs. Do not rush forward right now - there is a death trap in front of you. Look at the other side of the corridor. At the end of the right wall you discover a portal area. Shoot a red portal at it. Now turn left. At the end of a small corridor leading off the corridor you are in, there is another portal aera. Shoot a blue portal at it. If you do not see a small corridor, you have advanced too far - go back a few steps.
Step through the portal and reach the other end of the corridor. In front of you, there is a narrow passage. Duck and crawl into it. After a few steps you realize: The passage has caved in. At the other end, behind the barrier, you see the back wall of the passage's head end. Shoot a blue portal at the wall. Turn back and walk through the red portal.
Don't be confused now. The passage in front of you is the same you came through right now. Turn left, walk to the end of the small room and turn right. Now look down. Farther down. There is another passage there, even smaller than the previous one. Forget your backache, duck and crawl in. Follow the catacomb until you reach the passage's end, decorated with a nice painting. This is a door. Open it and jump down.
05 / The Hall of the Kings
You are nearly there. At the opposite wall, beneath the large painting, you see the pharao's sarcophagus on a pedestral. Jump up the pedestral, move to the right end of the sarcophagus and open the cover plate by activating it. The plate slides aside, a mystic light shines from the inside and out of the sarcophagus rises - no, not a mummy, but a nice little button. Can you resist pushing it? No need to. Push the button, turn around and observe two chambers opening, leading off two opposite walls. Turn to the raised chamber at your right and shoot a red portal at its back wall. Now enter the chamber leading off the left wall. You see three black buttons there. You have to push them in the correct order within the right time to advance to the next step. Looking into the chamber, this is the right order:
ahead - left - right
If you did this fast enough, the chamber will light up. Step out of the chamber, turn right and walk around the right torch pedestral. On its rear side, a new portal area has opened. Shoot a blue portal at it, step through and enter the raised chamber. Push the floor button and watch a new floor button rise from the floor in the Hall of the Kings.
Jump down, position yourself behind the new floor button, looking at the large painting, and push the button.
Now everything becomes clear. Finally, you find out who really was behind the ancient Egyptian empire. Lean back and enjoy.
You did well, test subject.
© 2014 by Paul Nexo - All rights reserved - info@nexo.de