| The portal conventions
within this walkthrough are: Blue portal = Enter | Red portal = Exit This helps simplifying the description. Of course you are free to shoot your portals the way you like it best. |
01 / The Basement
After leaving the elevator, you pass through two doors - and will run directly into the security unit guarding the building, waiting for you in a pitch black room. The best you can do: don’t move. After the control routine the lights are turned on. You find yourself in the basement with stairs near the opposite wall. Go upstairs and open the door.
02 / The Observation Room - First visit
You enter a room that obviously has been left in quite a haste shortly before. This is the right moment to consider how to obtain a portal gun. Walk to the opposite wall and open the left secret door. Enter the small storage room (you will have to jump up) and turn right. Take the portal gun out of the shelf.
Leave the storage room. To your right, you see a three-door cupboard. Open the middle door. Push the read button, which will open a small gap in the large observation room window.
Things have to happen fast now: Before the window closes again, walk to the opposite left corner near the large desk. Shoot a red portal through the gap at the white square on the ceiling in the opposite right corner of the test room.
To leave the observation room, walk to the opposite right corner (you may have to clear away a chair there). Open the right secret door and shoot a blue portal at the surface behind it.
Again, things have to happen fast: Jump through the portal before the secret door is closing.
03 / The Test Room - First visit
You will be landing on the test room's gallery. Walk to the left side and push the switch. This triggers two procedures: The test room’s main lights are turned on and the door near the opposite end of the gallery unlocks. Leave the test room through the unlocked door.
04 / The Terrace
You enter the terrace of the Aperture Lab Building. Proceed to the balcony. From here, you have a magnificent view at Aperture Headquarters. On the roof, you can spot a small, lit-up area (zoom). Shoot a red portal at it. Turn around and walk to the terrace’s back wall. Shoot a blue portal at it and walk through.
05 / The Roof of Aperture Headquarters
Leaving the portal activates the motion detectors on the roof, which will turn on the lights. On the right side you see a large promotional sign. Shoot a red portal at it.
Walk close to the roof’s edge on the “Exit” platform and look down. Though it does not look like it, this really is the exit of this area. Trust the developer and jump. While you are falling, a large landing platform will move out. Shoot a blue portal at the end of your trajectory and brace yourself for the jump of your life.
06 / The Training Room
Depending on your behaviour during the jump, you will arrive in the training room in one of two different ways: If you did move, you probably will smash the pane and land on the window sill. If you did not move, you probably will not only smash the pane, but will also be catapulted through the room, bouncing at the opposite wall.
If you have landed on the window sill, enter the room. Walk to the right side in front of the podium and activate the switch on the wall. This will turn on the lights and move up the speaker’s desk. Move around the desk and push the button to open the door. Leave the room before the door is closing.
07 / The Test Room - Second visit
This time, you enter the lower section of the test room. You are standing on a white target platform. Turn left, leave the platform, turn around and shoot a red portal at it. (This way the portal will have the correct orientation and you will not have to turn around during the jump.) Now enter the small catapult room through the door on the left side of the opposite wall. Shoot a blue portal at the target platform above the catapult. Step on the catapult und let yourself be shot up. While flying up or down, push the button in front of you. This will set off a chain reaction:
First step: The wall segment
blocking the laser will retract into the wall.
Second step: The laser switch initiates the build-up
of the platform pyramid.
Third step: A switch will be lowered from the ceiling
to the pyramid’s top level.
Climb to the top of the pyramid and push the switch. This activates the Antigrav platform. Step on it as soon as it reaches you. It will carry you to the balcony outside the observation room. Jump on the balcony. Press the switch to unlock the door and open it.
08 / The Observation Room - Second visit
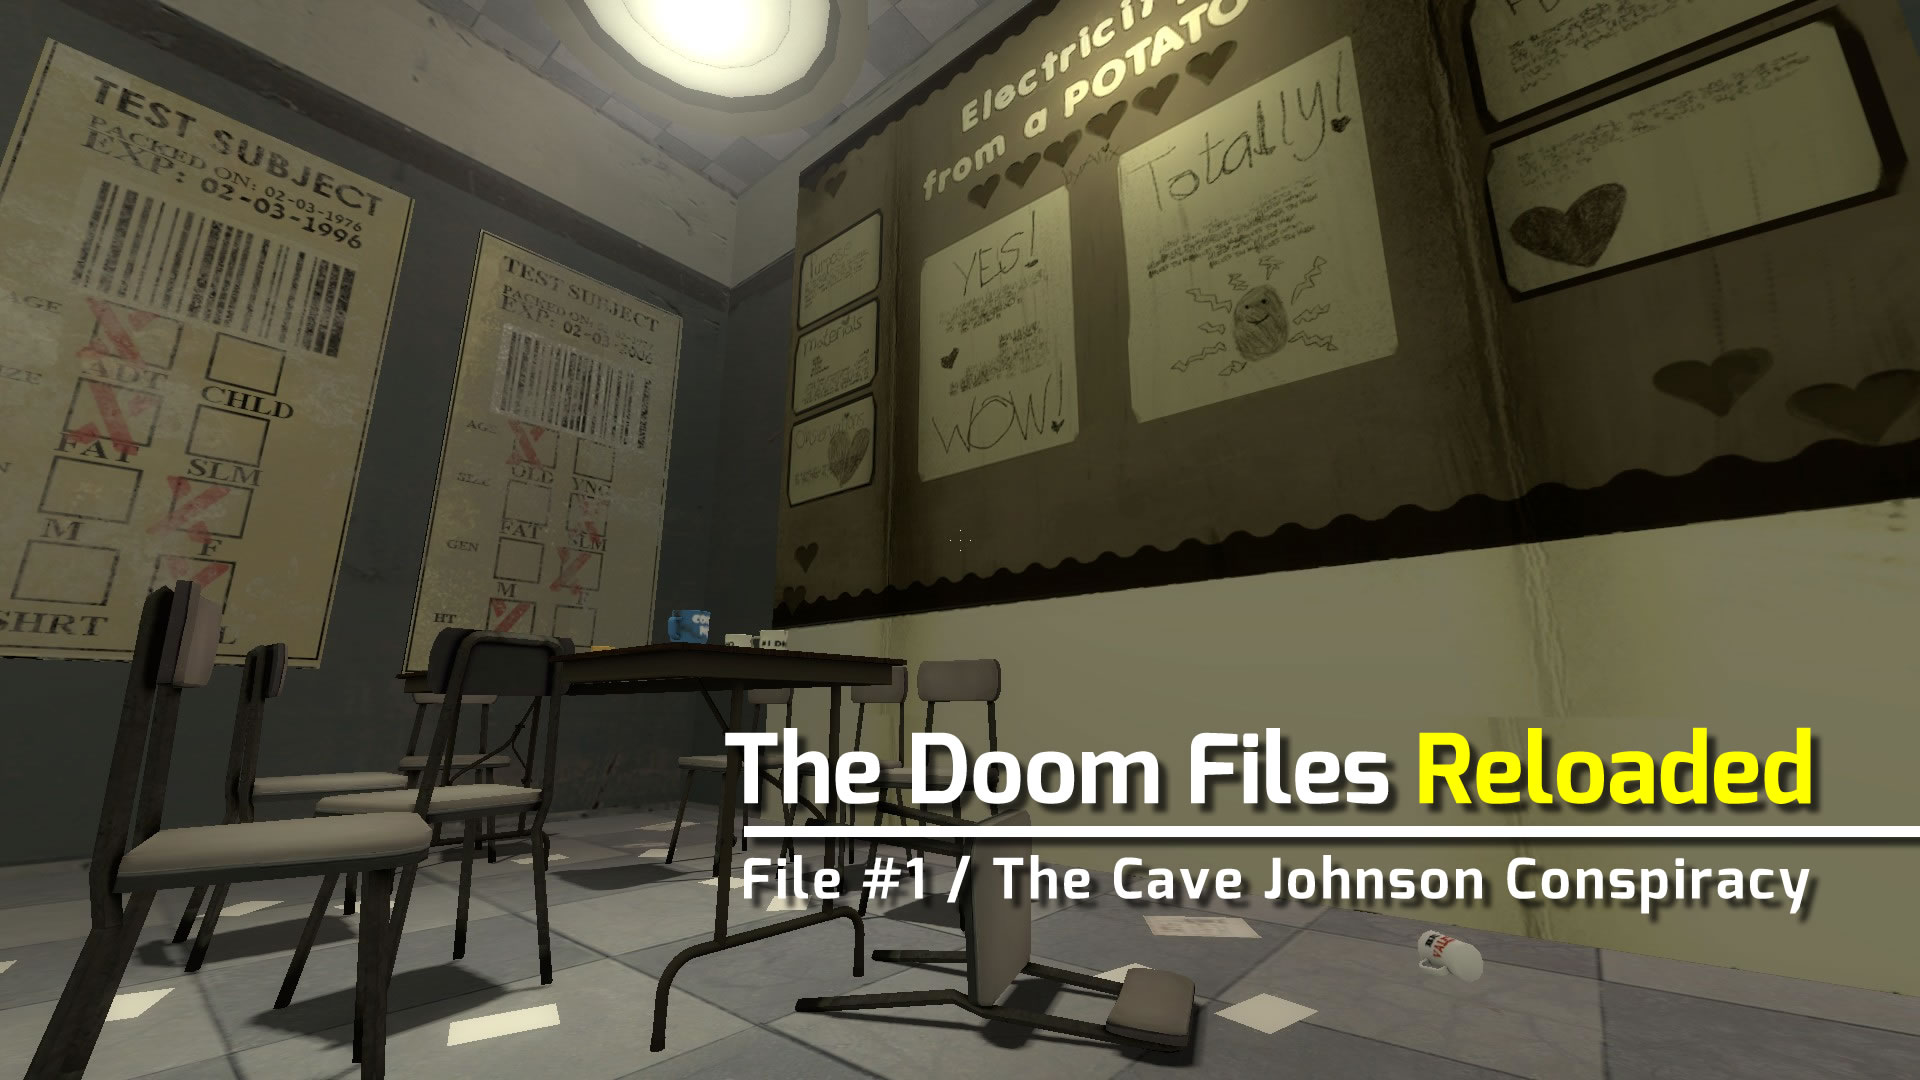
Nothing seems to have changed since you left the observation room, but the first impression is misleading. Look at the wall opposite the door, carrying the label “Electricity .. from a potato?!?!”. The spot pointing at it is flickering. This is a distinct clue that something has changed with the wall. Walk up to the wall and activate it. The wall turns out to be a large door which will now open.
09 / The Maze
Don’t let yourself be distracted by Cave’s deliberations and turn right to enter the three-dimensional maze. Pass the narrow passage next to the “Mind The Gap” sign and look for the entrance platform of the first maze path. Again, it is marked by a soft flickering light. This is the path after you jumped on the first platform:
forward - right - left - left - left - left - right - right - forward - right - left
From here, you have a good view at the opposite upper section with a cube on a switch and a white segment in the right corner. Shoot a red portal at the segment and jump down to the floor.
Now it is time for the second walk through the maze. Again, enter the narrow passage next to the “Mind The Gap” sign. This time, walk to the end and turn left. Look for the second entrance platform (the light is flickering) and jump on it. This is the path from here:
right - left - left - right - right - left - left
Shoot a blue portal at the wall in front of you and enter the upper section. Take the cube from the switch. This unlocks the exit door. Jump down, taking the cube with you. Approach the door, which will open automatically.
10 / The Passage
Turn left and let the tractor beam carry you downwards. Walk to the end of the passage and open the door.
11 / The Test Room - Third visit
Walk down the stairs, turn right and put the cube on the cube switch. This opens the door in the opposite wall.
12 / The Floating Platforms - First visit
Find your way over the floating platforms to the rear section of the room. Be sure to leave the last platform left of the laser barrier. Position yourself in front of the switch, looking at the laser barrier. As soon as the last platform comes near the barrier (moving left), push the button, enter the platform, let it carry you around the barrier, then immediately leave the platform, walk to the second button and push it before it is blocked again. This will incline the white platform in front of you at a small angle. Shoot a red portal at it. Jump down to the floor beneath the floating platforms and walk to the stairs at the opposite end. Climb up the stairs and leave the room.
13 / The Test Room - Fourth visit
Take the cube from the platform, which will close the door to the floating platforms. Climb the stairs to the passage.
14 / The Passage - Second visit
Put the cube next to the tractor beam. Shoot a blue portal at the target area of the tractor. Take the cube and walk through the portal.
15 / The Floating Platforms - Second visit
The tractor beam carries you to the upper section of the room. Put the cube on the cube switch. This will activate the energy bridge to the map’s exit. Walk over the bridge and through the exit door. Advance the opposite door and with it exit the map.
You did well, test subject.
© 2014 by Paul Nexo - All rights reserved - info@nexo.de
| Proceed to File #2 - The Cheops Mystery |